Night photography offers endless possibilities for capturing the beauty of the world after dark. From glowing cityscapes to star-filled skies, night photography can be incredibly rewarding. However, shooting in low-light conditions presents unique challenges that can intimidate even seasoned photographers.
In this guide, we’ll share essential night photography tips to help you capture stunning photos, no matter your experience level. From choosing the right equipment to mastering camera settings and creative techniques, these tips will elevate your night photography skills.
Understanding Night Photography:
Night photography involves capturing images in low-light conditions, whether that’s the soft glow of streetlights, the brilliance of the moon, or the stars above. The reduced light available at night challenges photographers to adjust their techniques to capture sharp, well-lit images.
With practice and the right techniques, night photography opens up a new world of possibilities. Whether you’re photographing starry skies, moonlit landscapes, or bustling cities at night, the key is understanding how light interacts with your camera’s sensor in these conditions.
Best Camera Gear for Night Photography:

1. Choosing the Right Camera
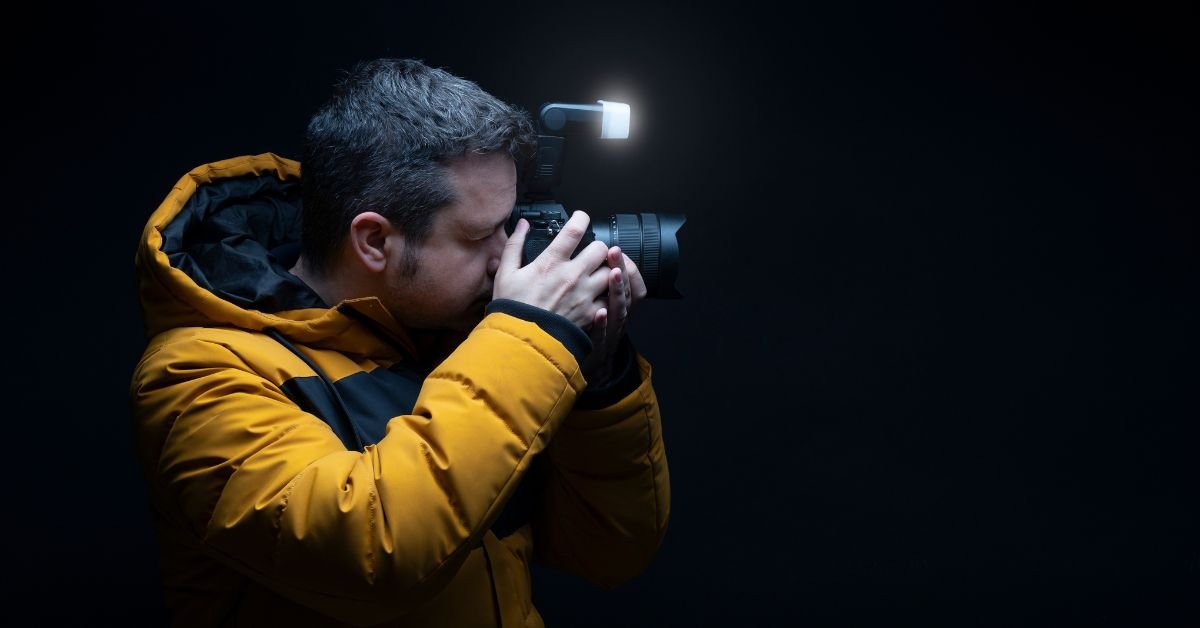
For night photography, a camera with good low-light performance is essential. Full-frame cameras tend to perform better in low-light because of their larger sensors, which can capture more light and detail. Cameras with high ISO capabilities are also important for minimizing noise in darker scenes.
Pro Tip: Look for cameras that offer manual mode and RAW image support, giving you more control over your settings and post-processing options.
2. Lenses for Night Photography
A fast lens, meaning one with a wide aperture (such as f/1.8 or f/2.8), is ideal for night photography. Wide apertures allow more light to hit the camera’s sensor, resulting in better exposure in dark conditions.
Lens Suggestions:
- Prime lenses like 50mm f/1.8 or 35mm f/1.4
- Wide-angle lenses for capturing landscapes or the night sky, such as a 16-35mm f/2.8
3. Tripod
A sturdy tripod is non-negotiable for night photography, especially when working with long exposures. A good tripod keeps your camera steady, preventing any motion blur and ensuring sharp images.
4. Shutter Release or Remote Control
A shutter release or remote control prevents camera shake when you press the shutter button. This is crucial for long-exposure shots where any movement can ruin the image’s sharpness.
Essential Camera Settings for Night Photography:
Getting the right settings for night photography can be tricky, but once you master them, your photos will improve dramatically.
1. ISO
ISO determines how sensitive your camera’s sensor is to light. In low-light settings, you’ll need to increase the ISO, but be cautious—higher ISO values can introduce digital noise. Start with an ISO around 800-1600, and adjust as needed based on the available light.
2. Aperture
A wide aperture (f/1.8 to f/4) allows more light to hit your sensor, making it easier to capture details in low light. However, keep in mind that a wider aperture also reduces depth of field, which might not be ideal for landscapes. Use smaller apertures (f/8 or f/11) if you need a deeper field of focus.
3. Shutter Speed
For night photography, slow shutter speeds are often necessary to allow enough light into the camera. Experiment with shutter speeds between 10-30 seconds for long exposure shots, depending on the scene.
Tip: Use the “bulb mode” on your camera to manually control the length of the exposure beyond standard settings.
4. Manual Focus
In low light, autofocus often struggles to find the right focus point. Switch to manual focus and zoom in on live view to adjust the focus manually. Focus on distant lights or bright objects to ensure a sharp image.
Mastering Long Exposure for Stunning Shots:
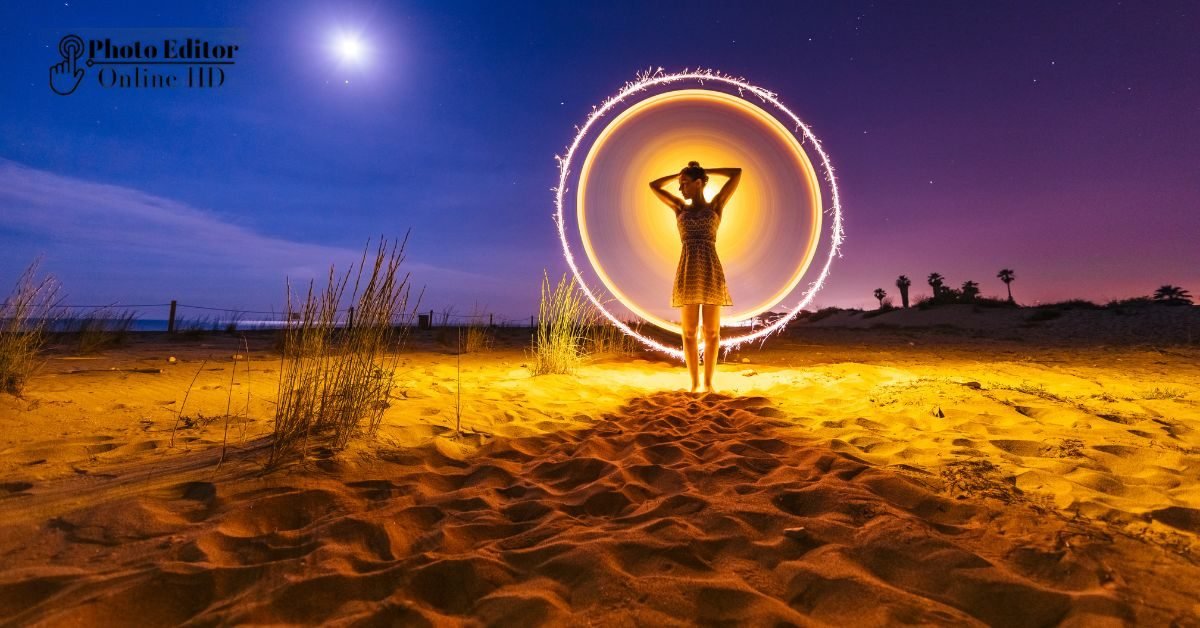
Long exposure is one of the most popular techniques in night photography. It allows you to capture movement, like the flow of water or the light trails from passing cars, adding a sense of motion to your photos.
1. Light Trails
Use a slow shutter speed (10-30 seconds) to capture the trails of car lights in a city or on a highway. Light trails create dynamic images, showcasing the motion of vehicles as they pass through the scene.
2. Star Trails
To capture star trails, set your shutter speed for 20-30 minutes. Use a remote control to lock the shutter open. This technique captures the Earth’s rotation as the stars appear to move across the sky.
3. Water Effects
Long exposures can create a silky-smooth effect when photographing bodies of water. Use a slow shutter speed (15-30 seconds) to blur the movement of waves, lakes, or waterfalls, creating a dreamlike quality.
Capturing the Beauty of Night Skies:

One of the most captivating subjects in night photography is the night sky. Capturing stars, the Milky Way, or the Northern Lights requires patience and the right settings.
1. Astrophotography Basics
For astrophotography, use a wide-angle lens with a fast aperture (f/2.8 or wider) to capture as much light as possible. Set your camera to manual focus and adjust it to infinity for sharp star images.
2. Milky Way Photography
The Milky Way is a stunning subject to photograph. To capture it, use an ISO of 3200-6400, an aperture of f/2.8 or wider, and a shutter speed of 15-20 seconds to avoid star trailing.
3. Northern Lights Photography
Photographing the auroras requires a fast lens and an ISO of 800-1600. Use a wide-angle lens to capture as much of the sky as possible and a shutter speed between 5-15 seconds, depending on the brightness of the auroras.
Creative Techniques for Cityscape and Urban Night Photography:
Cityscapes and urban settings offer plenty of opportunities for creative night photography. Here are some tips to capture dynamic city scenes:
1. Reflections
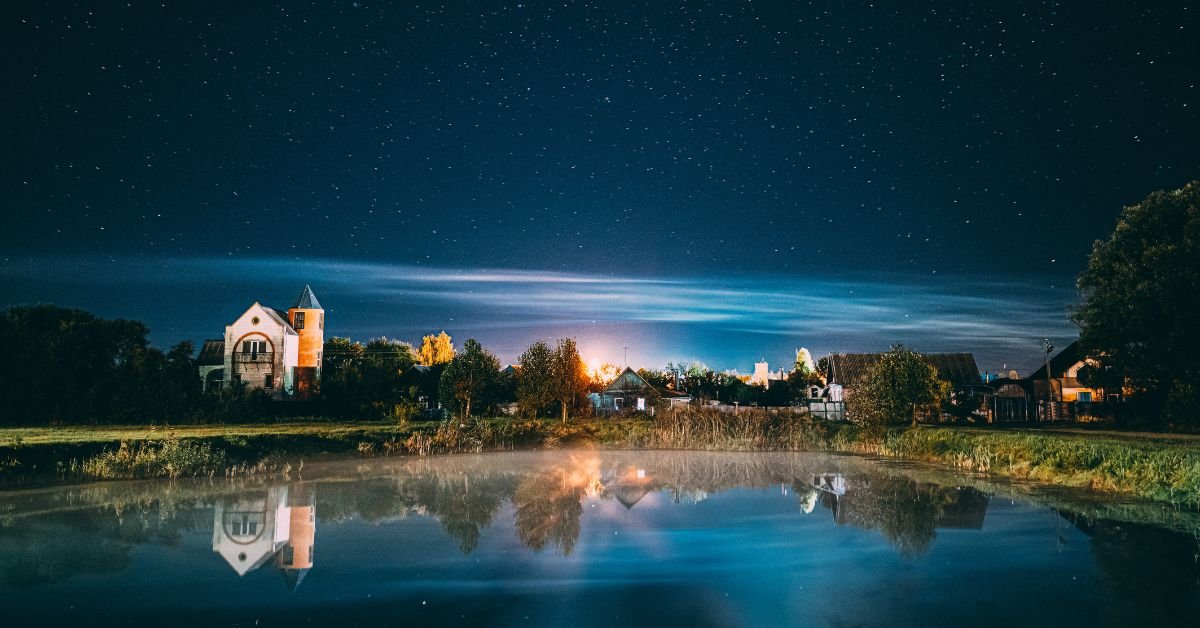
Use reflections in puddles, windows, or shiny surfaces to add depth and dimension to your photos. Reflections can create striking compositions, especially when capturing the glow of city lights.
2. Neon Signs
Neon signs and lights are a staple of urban photography at night. These colorful lights can create vibrant, dynamic images. Adjust your white balance to avoid overly warm tones, and use a fast lens to isolate the sign from its surroundings.
3. Silhouettes
Use backlighting to create silhouettes of people or objects against illuminated cityscapes. This technique can add mystery and drama to your night shots.
Post Processing Tips for Night Photos:
Post-processing can take your night photography to the next level. Here are some editing tips:
1. Reduce Noise
Even with a low ISO, night photos can suffer from digital noise. Use noise reduction tools in software like Adobe Lightroom or Photoshop to clean up your images without losing detail.
2. Enhance Contrast and Shadows
Night photos often need adjustments to contrast and shadows to bring out details in dark areas. Play with the contrast slider and shadow recovery tools to find the right balance.
3. Color Balance
Night photos can sometimes have an unnatural color cast due to streetlights or other artificial lighting. Use the white balance tool to correct this and achieve natural, true-to-life colors.
Common Night Photography Mistakes to Avoid:
Here are some common mistakes beginners make in night photography and how to avoid them:
1. Using Too High an ISO
A high ISO can introduce unwanted noise. Use the lowest ISO possible that still allows you to capture enough light.
2. Not Using a Tripod
Hand Holding the camera for night photography often leads to blurry images. Always use a tripod to keep your camera steady during long exposures.
3. Overexposing the Scene
While it’s tempting to brighten your night shots, overexposing them can wash out important details. Instead, embrace the darkness and use light creatively to highlight key elements.
Conclusion
Night photography presents exciting opportunities to capture unique and stunning images, from the quiet stillness of a moonlit landscape to the hustle and bustle of an illuminated city. With these night photography tips, you can embrace the challenges of low-light photography and create breathtaking images that shine, even in the darkest hours.
Photo Editor Online HD! Our powerful, web-based editing platform allows you to enhance, crop, and add unique effects to your photos with ease. Experience flexibility and control with our user-friendly interface, perfect for both beginners and professionals. With Photo Editor Online HD, you can transform your images into stunning visuals in no time. Explore our exciting features – from basic adjustments to advanced design tools like adding text, shapes, and icons. Plus, our free drawing tool lets you add that extra flair to your photos. Start creating amazing designs today with Photo Editor Online HD.


