In today’s digital age, smartphones have transformed the way we take photos. Whether you’re capturing moments with friends or documenting the beauty of nature, smartphones offer an accessible and powerful tool to help you create amazing images. However, mastering the art of smartphone photography goes beyond just pressing a button—it’s about understanding key principles and honing your creative skills.
In this comprehensive guide, we’ll share tips and techniques for mastering smartphone photography and taking stunning shots that rival those captured by professional cameras. With a bit of knowledge and practice, you can significantly elevate your photos.
Why Smartphone Photography is Important
The modern smartphone comes equipped with high-quality cameras, and almost everyone has one in their pocket. As technology advances, so does the quality of these tiny lenses, making it possible to shoot incredible images anywhere, anytime. More than ever, photographers—both amateur and professional—are relying on their phones to capture amazing photos without the need for bulky equipment.
Smartphone photography is also versatile and convenient. With the right skills, you can turn everyday moments into extraordinary memories.
Key Features of Smartphone Cameras
Before diving into tips and tricks, it’s important to understand the capabilities of your smartphone camera. Modern smartphones have a range of features designed to enhance your photography, such as:
- Multiple Lenses: Many phones now have wide-angle, telephoto, and macro lenses, allowing for more creative flexibility.
- HDR Mode: High Dynamic Range mode balances light and shadow to create more detailed photos.
- AI Technology: Advanced smartphones use Artificial Intelligence to optimize lighting, focus, and color automatically.
- Night Mode: Capture clear photos in low-light settings without needing a flash.
Knowing your camera’s potential will help you get the most out of it.
Focus on Composition
Composition is the foundation of photography. Whether you’re using a DSLR or a smartphone, the same principles apply. By focusing on the arrangement of elements within your frame, you can create a more visually appealing image.
The Rule of Thirds
One of the most basic principles of composition is the rule of thirds. Divide your image into nine equal parts by two equally spaced horizontal and vertical lines. Place your subject along these lines or at their intersections to create a balanced and engaging photo. Most smartphones have a grid option in the camera settings that can help you implement this rule.
Leading Lines
Leading lines draw the viewer’s eye toward the subject. Roads, paths, fences, and even shadows can serve as leading lines to guide the focus of your photo. Look for these elements when framing your shot.
Framing
Framing refers to using objects in your environment to create a natural frame around your subject. This could be anything from a window or doorway to trees or architectural elements. Framing adds depth and directs attention to the key focus of your image.
Mastering Lighting
Lighting is one of the most critical factors in photography. Proper lighting can transform a simple shot into something extraordinary.
Natural Light
Whenever possible, use natural light. The best times to shoot are during the Golden Hour (the hour after sunrise and before sunset) when the sunlight is soft and flattering. Avoid shooting in harsh midday sunlight, which can create unflattering shadows.
Backlighting
Backlighting involves positioning your subject with the light source behind them, creating a dramatic effect. This technique works well for silhouettes or adding a glow to your subject’s edges.
Avoid Flash
Flash can often be too harsh, creating overly bright spots and dark shadows. Instead, try to use ambient light or find another light source. If you must use flash, diffuse it by placing a piece of tissue paper over the light to soften its effect.
Use Your Camera Settings
Smartphone cameras offer several manual controls that you can adjust to improve your photos. Here are some important settings to be aware of:
Exposure
Exposure determines how bright or dark your image will appear. Many smartphone cameras allow you to manually adjust exposure by tapping on the screen and sliding a bar up or down to increase or decrease brightness. Use this feature to balance your lighting for a more professional look.
Focus
Although smartphones typically autofocus, it’s worth manually adjusting focus to ensure that the key elements of your image are sharp. Simply tap on the area you want to focus on to bring it into clear detail.
ISO
ISO controls the camera’s sensitivity to light. In low-light situations, increasing the ISO can brighten your image, but be careful not to go too high as this can introduce noise (graininess) to your photo.
White Balance
White balance controls the color temperature of your image. Adjusting this can help correct any color casts caused by artificial lighting or the time of day. Many phones automatically adjust this, but manual controls give you more flexibility for creative effects.
Editing Your Photos

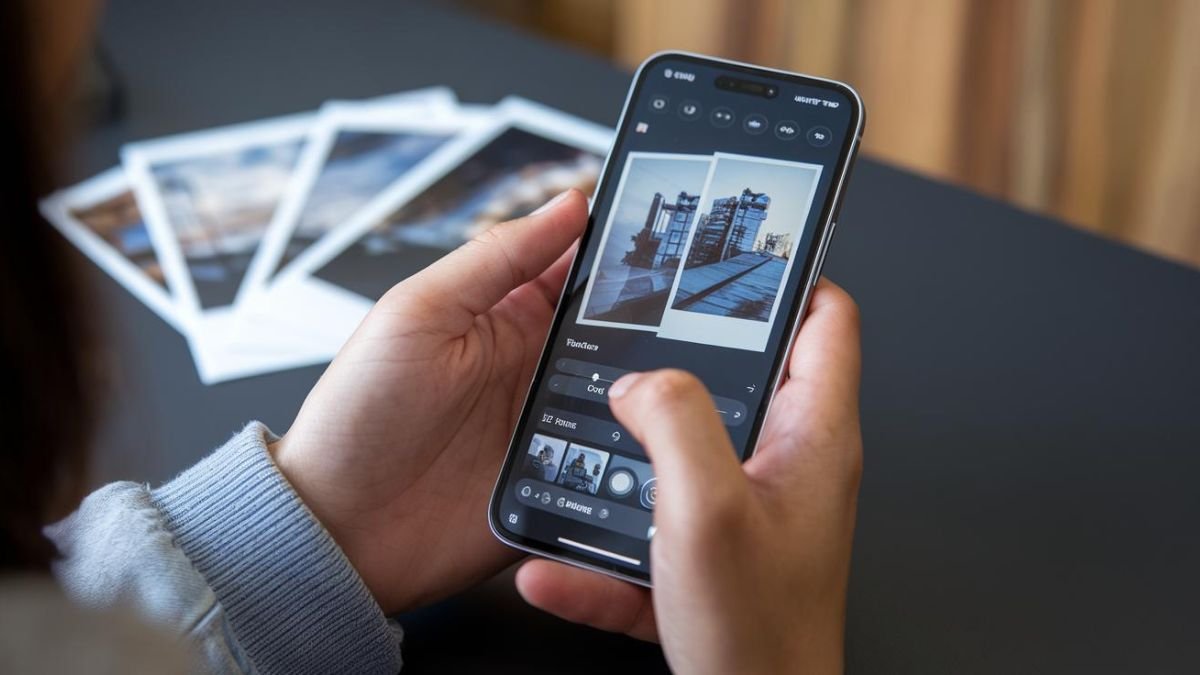
Post-processing is where you can really make your photos shine. Even the best photographers rely on editing to perfect their images. There are several excellent smartphone apps that offer advanced editing features, such as:
- Snapseed: A free and powerful editing app that offers a wide range of tools, from basic adjustments like exposure and contrast to advanced features like selective editing and curves.
- Adobe Lightroom Mobile: This app offers professional-level editing capabilities, including customizable presets and in-depth color grading.
- VSCO: Known for its filters, VSCO also has a variety of editing tools that allow for creative adjustments.
When editing, aim to enhance your image, not overdo it. Subtle adjustments to brightness, contrast, and saturation can make a big difference without looking over-processed.
Experiment with Different Perspectives
One of the easiest ways to make your photos stand out is by experimenting with different angles and perspectives.
Low-Angle Shots
Shooting from a low angle can make your subject appear larger and more imposing, adding a sense of drama to your photo.
High-Angle Shots
Conversely, shooting from above can give your image a more delicate or whimsical feel. This angle works particularly well for flat-lay photography, where you arrange objects on a flat surface and shoot from directly above.
Close-Up Shots
Use your phone’s macro mode (if available) or get close to your subject to capture intricate details. Close-up shots can highlight textures and patterns that are often overlooked.
Understanding Depth of Field
Creating depth in your photos adds a three-dimensional feel, making them more immersive and visually interesting.
Bokeh Effect
Many smartphones now offer a portrait mode that creates a shallow depth of field, blurring the background while keeping your subject in sharp focus. This effect, known as bokeh, is ideal for portraits or highlighting a specific subject.
Foreground Interest
Including objects in the foreground can add depth and lead the viewer’s eye into the scene. Experiment with placing objects like flowers, leaves, or other natural elements in the foreground to create a layered look.
Keep Your Lens Clean
A simple but often overlooked tip: always clean your smartphone lens before shooting. Dust, fingerprints, or smudges can significantly affect the clarity and quality of your photos. Use a microfiber cloth to gently wipe the lens before each session to ensure your images are as sharp as possible.
Stabilize Your Shot
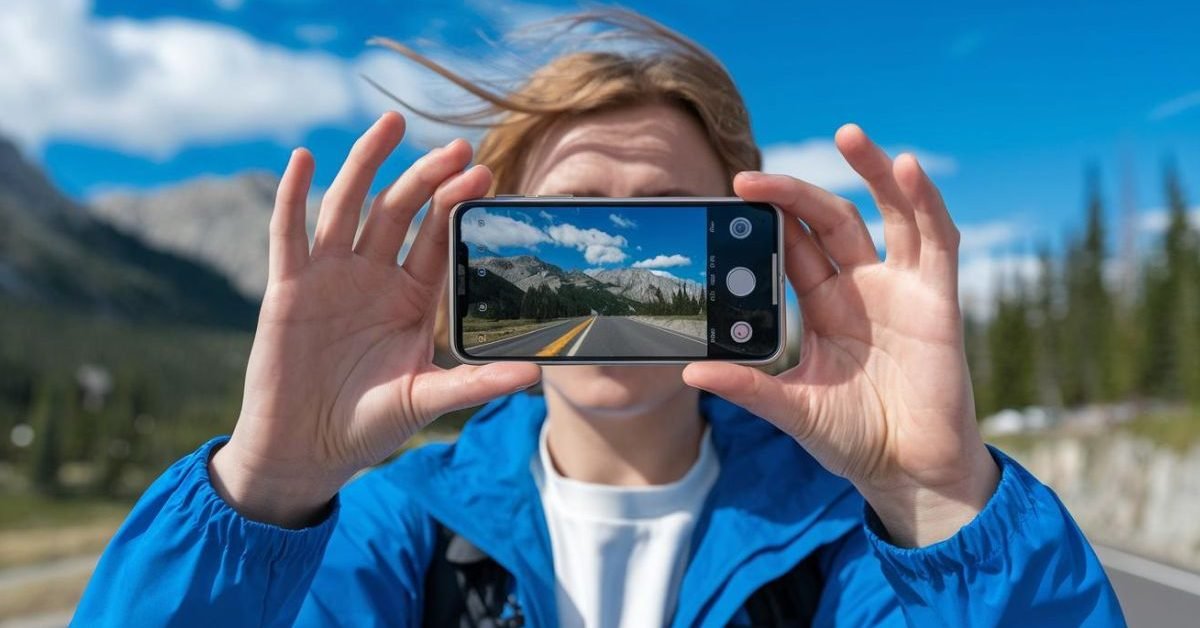
Blurry images are often the result of camera shake, especially in low-light conditions. To avoid this, try to stabilize your phone by using both hands, leaning against a stable surface, or using a tripod designed for smartphones.
If you don’t have a tripod, try propping your phone up on a nearby object or use the self-timer function to avoid camera movement when pressing the shutter button.
Conclusion
Mastering smartphone photography doesn’t require expensive equipment—just a willingness to experiment and learn. By applying these tips, you’ll be well on your way to capturing stunning shots that rival professional photos. Whether you’re a casual shooter or someone looking to up their Instagram game, the key to success lies in understanding your camera, practicing good composition, and making the most of available light.
Photo Editor Online HD! Our powerful, web-based editing platform allows you to enhance, crop, and add unique effects to your photos with ease. Experience flexibility and control with our user-friendly interface, perfect for both beginners and professionals. With Photo Editor Online HD, you can transform your images into stunning visuals in no time. Explore our exciting features – from basic adjustments to advanced design tools like adding text, shapes, and icons. Plus, our free drawing tool lets you add that extra flair to your photos. Start creating amazing designs today with Photo Editor Online HD.


